

Hello from a very snowy Cheat Mountain and welcome back to SurThrival Thursday! Today I’m going to feature our favorite kind of homemade shelter: the debris hut.
A debris hut is a kind of shelter made entirely of materials found on site, in the forest where you plan to shelter. In many forest types, you can get everything that you need for a cozy hut within a hundred yards of a well-chosen spot. It is very helpful to have a large trash bag or rain coat at hand for building this shelter.
When choosing your location you first want to think about where you are in the forest: Are you near a water source? Is your spot prone to flooding? Are you somewhere that is very exposed to the wind and rain? Picking a safe and sheltered area is very important.
Next you want to consider if it’s possible to build this type of shelter in your location: Are there lots of downed branches? Lots of trees? How much leaf matter is on the ground and available to you? Is there plenty of old grass instead? You need a lot of loose plant matter to create a debris hut, so if your forest floor is mostly bare dirt, then this isn’t the ideal shelter.
Once you’ve ascertained that your location is suitable, you then want to choose your site; this is the exact spot where you’ll build your hut. Try to avoid any dead trees or branches that may fall during a storm or high winds. You can shelter near a tree and use it as part of your structure, but choose an old, stable tree; a young tree might sway in the wind, destabilizing your shelter and potentially dumping any water held on its leaves right on you! You can also use large boulders, rock outcrops, or steep contours in the land to begin from, so long as they add protection and stability. Finally you’ll need a flat spot, somewhere that you would feel comfortable sleeping.
Then it’s time to start collecting materials. You will start by finding a ridge pole, something longer than your body by several feet. Then you need a forked branch, one that is the height of your desired hut, usually around your waist or chest. Both of these branches should be quite stout and sturdy, as they will bear the weight of the shelter. Before you place your poles, lie down and mark a rough measure of the height and width of your body. Place the forked pole standing in the ground a few inches away from your head mark and the butt of your ridge pole a few inches from your foot mark, then place the opposite end of your ridge pole in the fork of the other pole. Try to get this as sturdy as possible; you may need to add other branches to stabilize.
Next collect sturdy beaches of varying length or ones that you can break to length. These you will place vertically, from the ground just outside of your body measurements up to your ridge pole. Place as many as you can to get tight coverage. The top of each branch should terminate at the ridge pole, and not beyond. This will constitute the skeleton of your debris hut! Climb inside and make sure that you fit easily with little extra room before adding more material.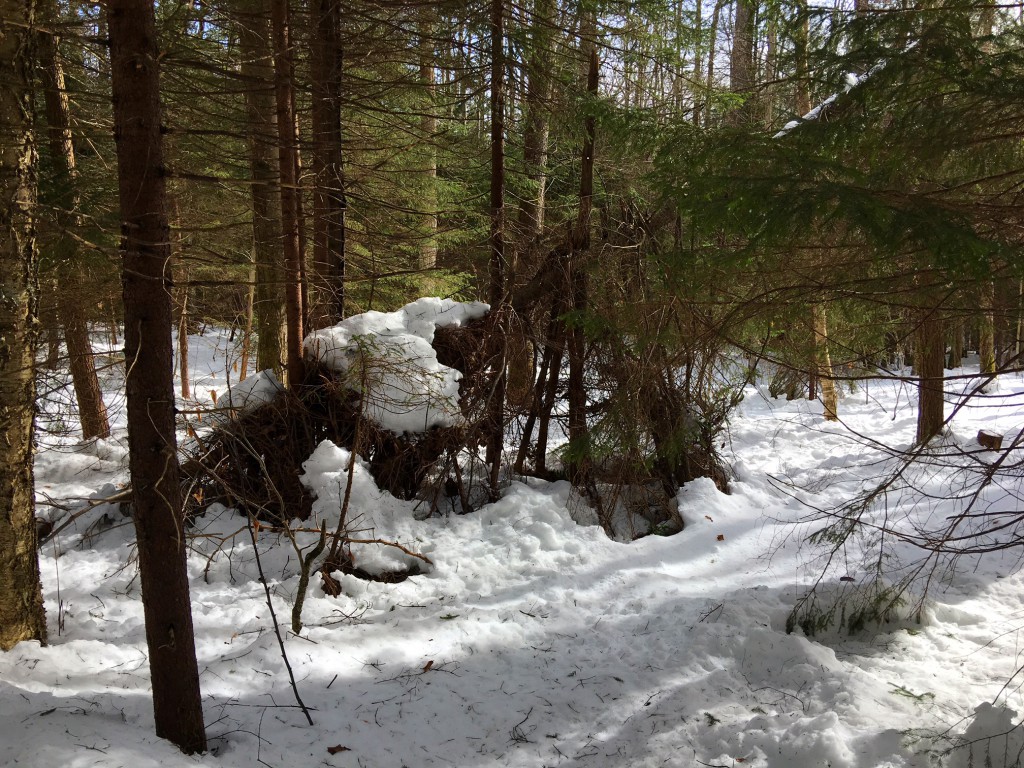
The next layers depend on the materials available to you. Here on Cheat Mountain, leaf duff is in short supply as our ecosystem has many evergreens. Therefore, I usually put a thick layer of small evergreen boughs on the skeleton, creating a tight surface to accept more debris. In forest with more deciduous trees, a layer of small sticks will suffice to keep the remaining material from falling through. Now, here’s where that trash bag or coat comes in handy: the next step is to collect leaves. You will need to cover your shelter in an enormous amount of leaf matter to keep you warm and dry; enough material so that in the end, you can reach through the leaf layer down to the skeleton and have your arm covered to your shoulder! Depending on your ecosystem you may need to additionally collect ferns, moss, needles, grass, or other debris. While you are hauling material, keep an eye out for dry leaves and save them for later! Covering your shelter in leaf matter will often take several hours, so keep at it.
When you have sufficiently covered your skeleton, seek out those dry leaves and place as many as you can fit inside the shelter. Once you have finished, you may want to fill that trash bag one more time and use it as a ‘door’ to your shelter. If you don’t have a trash bag, you can hang a coat, or find some leafy branches to do the job.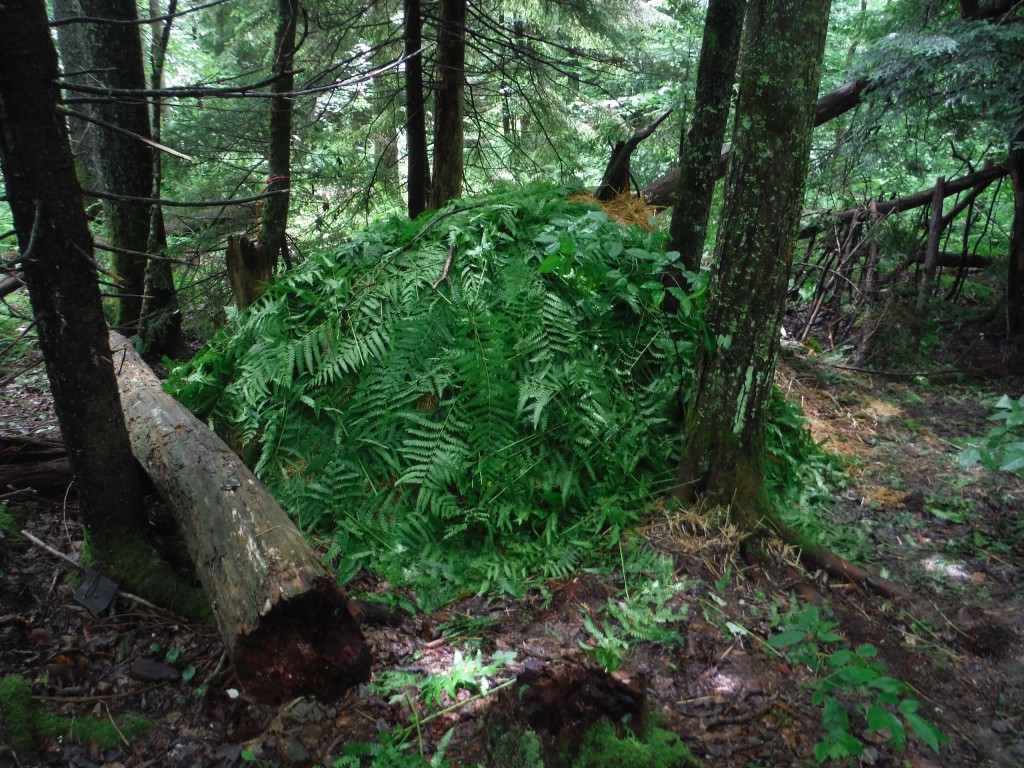
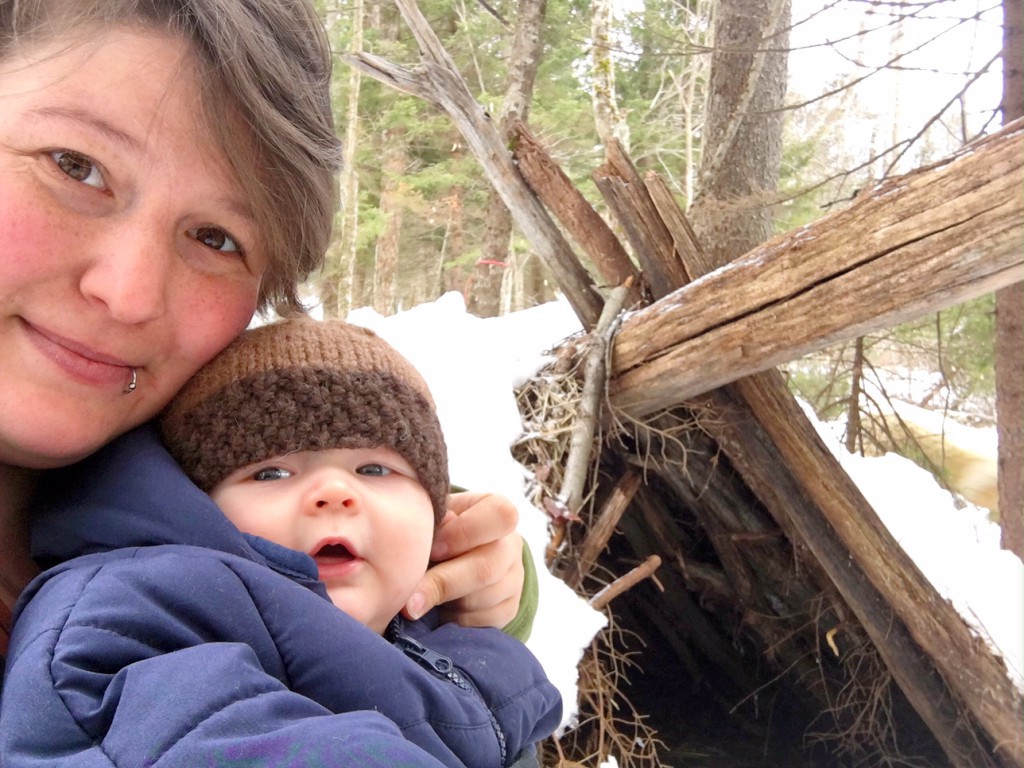
If correctly built, once you wiggle inside your leafy nest you will be warm and dry without a sleeping bag or a tarp! You might just get your best night’s sleep ever inside your shelter.
That’s all from Cheat Mountain this week! Stay connected with us through SurThrival Thursday posts and get excited for our upcoming Cheat Mountain classes.
Comments are closed.