

Hello! Welcome back to SurThrival Thursdays from Cheat Mountain. This week I’m going to explore fire making: nothing fancy or very primitive, just a simple one-match fire. I laugh as I am writing this, because of course, there is nothing simple about making a fire on Cheat Mountain. As students from previous year’s classes remember, it is always wet here. In fact, as I prepared to go out and make a fire to photograph for this post yesterday, it poured. Then, when it stopped raining, the winds picked up so strongly that all my matches blew out immediately upon lighting. So let me rephrase this, this week I am going to explore how to start a (hopefully) one-match fire in one of the wettest, coldest, and windiest places in West Virginia.
To begin, choose an appropriate place to start your fire. Don’t place it near anything that might ignite or melt if the wind picks up, such as your tent. Sweep away as many leaves and sticks from your site as you can. Ideally, you want to make a fire on bare dirt.
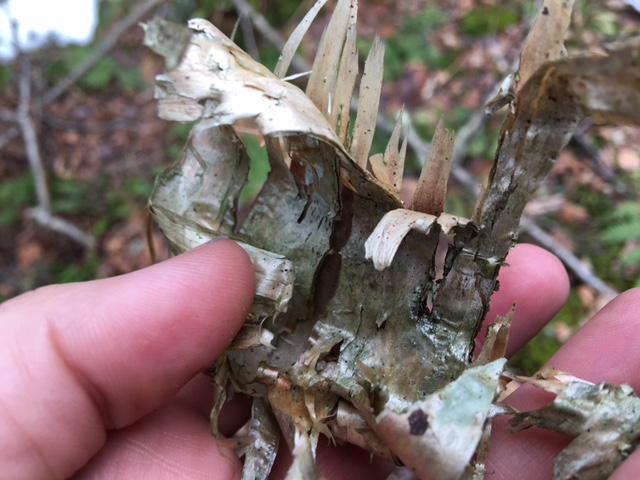
Next, collect lots of kindling. Kindling refers to the small, easily lit pieces of wood, bark, grass, etc. that you need when starting a fire. You probably want to start collecting the smallest pieces first, and on Cheat Mountain, that means birch bark. Bark from the Yellow Birch tree easily peels off of the trunk and has a papery feel to it. It lights even when wet and burns for longer than you’d expect; it is a great fire-starter. As you bring kindling back to your fire-site, make sure you have a dry place to put it. Lay out a raincoat, a piece of bark, or some larger sticks to place your piles on.
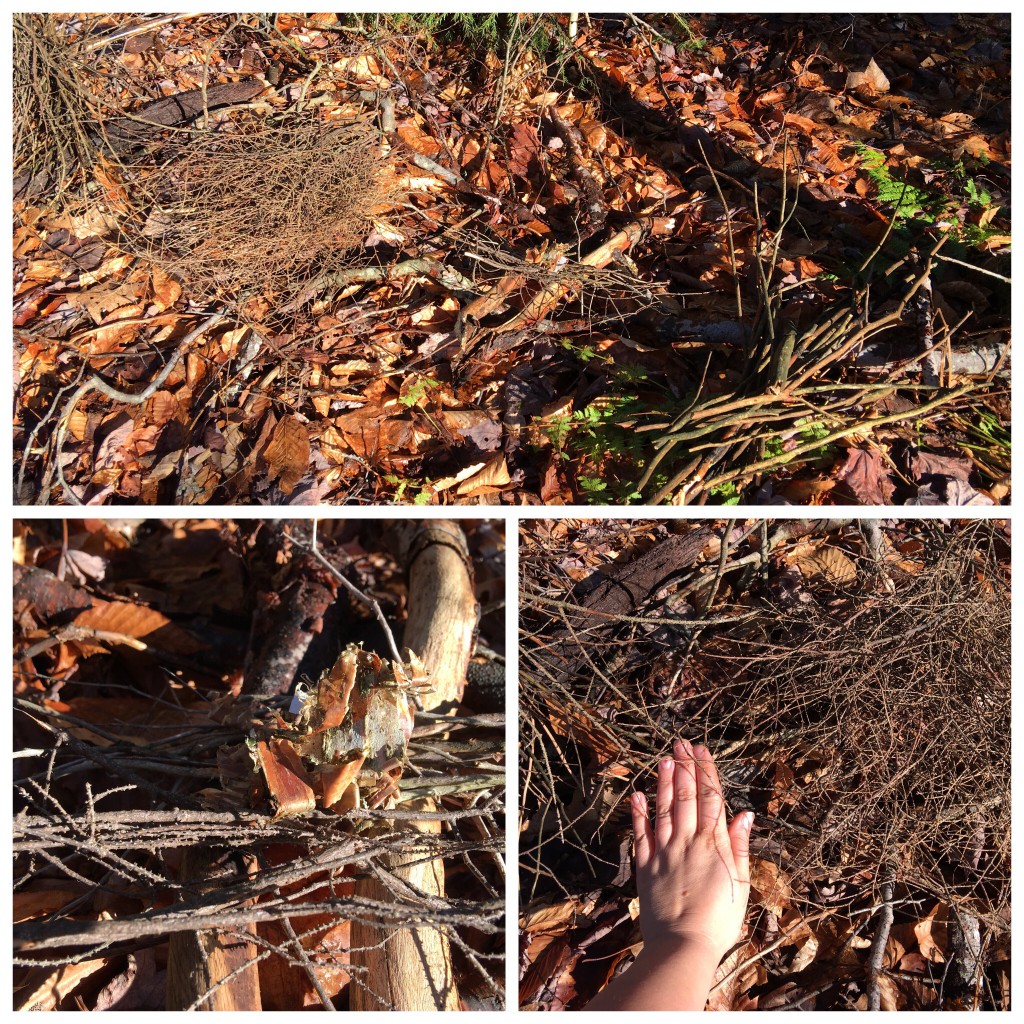
After collecting your bark, look for tiny branches. A great place to find these is on the lowest branches of evergreen trees. These trees provide a lot of shelter; therefore the dead branches near the base of their trunks are usually dry. In addition, these limbs often branch out into very tiny twigs at the tips, which make them easier to light. Species such as Hemlock and Spruce are particularly useful, as they tend not to shed old branches very quickly. Another reason these are so useful is that they contain a lot of flammable resin which makes them burn quickly and hot. If you come across any particularly dry pieces, keep these separate from the rest of your kindling, so you can distinguish them later.
When all of your fire-making materials are wet, you need to obtain a lot of kindling. Often the piles of tiny twigs that I accumulate resemble the size of a soccer ball, or even larger. Try to get approximately this much of both the tiniest branches and the next larger size. These larger twigs will usually still be smaller in width than your fingers.
Collect a pile of branches around the width of your thumb up to the width of your wrist. It’s often harder to find dry specimens of this size. Look to see if any fallen branches got caught up in trees, bushes, or on other downed trunks. These elevated branches will be much drier than those found on the ground. If your kindling is really soaked, you can try shaving the outer layers of bark or wood off with a knife. You may find that the wood underneath is surprisingly dry!
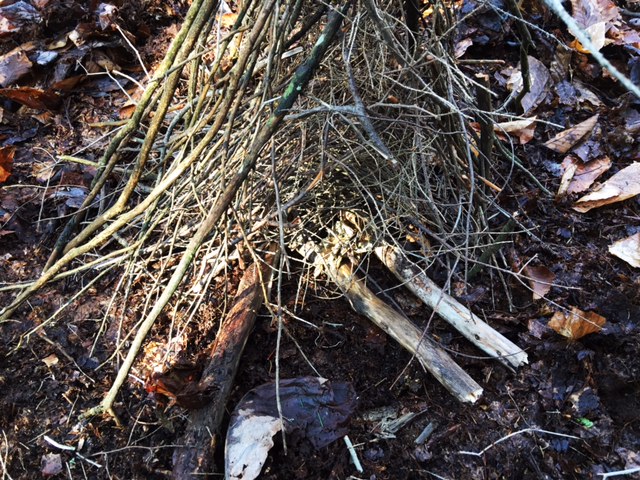
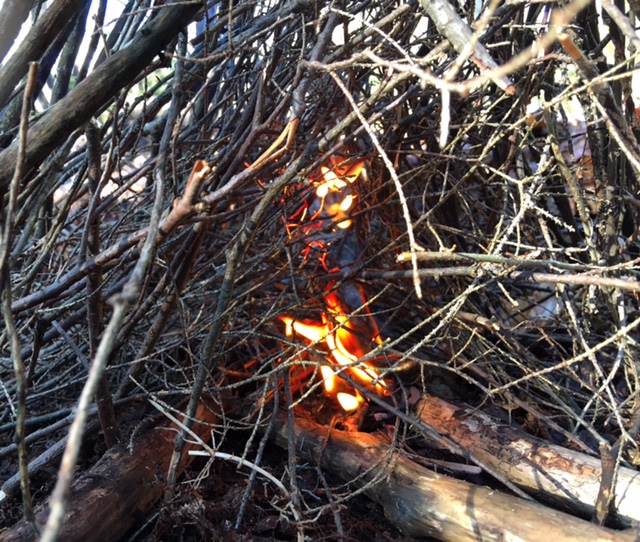
Once you have generous piles of various sized branches, it’s time to begin building your fire. If it’s windy, try to place your sticks so that the wind can blow your flames onto the kindling and not away from it. It doesn’t particularly matter what structure you use for your fire, so long as it allows for enough air to feed the flames. Begin by making a dry and ideally slightly elevated place for your smallest kindling to lie: a dry piece of bark or a few sticks laid close together work well. Don’t actually place your smallest and driest kindling here until you are ready to light your fire. Now stack kindling from smallest to largest, leaving air space and making sure that your structure won’t accidentally collapse. Be careful to set aside a small pile of each sized kindling just in case you need to add more after your fire is lit. Also, leave off many of the larger sticks that you’ve collected, they are easy to add once the fire is stable.
Now that your structure is complete, place your starting kindling in the dry spot that you left accessible. It is now time to light the fire.
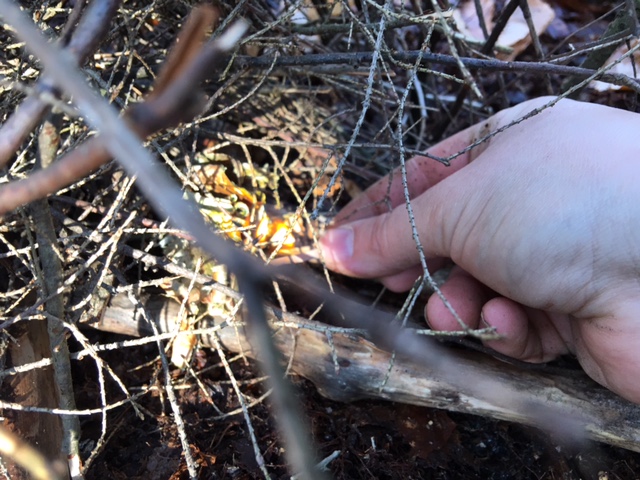
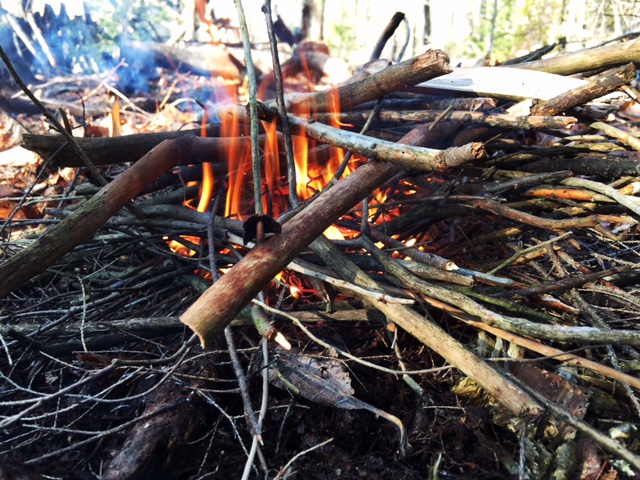
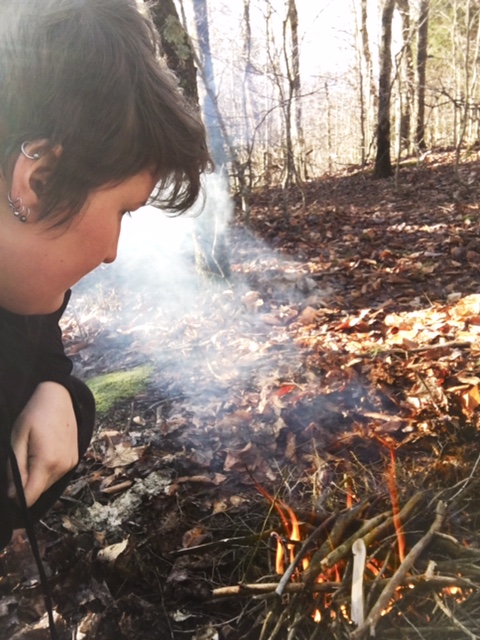
Once lit, your fire needs careful tending. I can’t provide step-by-step instruction here; each fire needs different care. You may find that you need to blow on the flames to coax them into lighting more of your kindling, or you may find that you need to shelter your fire from excessive winds (like I did yesterday!). If there is too much air space in your structure, you may need to gently collapse it onto the flames. Alternately, you may need to prop up some of your kindling to provide more air space. I recommended setting some kindling aside, so that if you observe parts of your fire running out of fuel, you can easily feed them. Once you have healthy flames and you feel that you don’t need to change your structure, you can add more of the largest sticks in your collection. If you have done so, then congratulations, you’re well on your way to having a successful fire!
Fire-making can be hard at the best of times. I have been making fires for many years, and I still occasionally find myself defeated. My best advice to you is to stay humble and treat each fire as something delicate and precious.
Comments are closed.